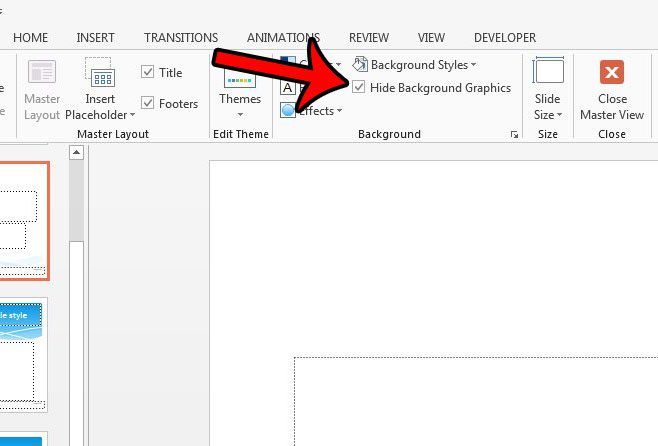
But pictures in the backgrounds can overwhelm the content in the foreground, and you might discover that you need to remove some of those background images. You can hide background pictures in a Powerpoint slideshow by selecting a slide, choosing the Design tab, clicking the Format Background button, then checking the box next to Hide background graphics. Most of the themes that are available in Powerpoint 2013 include some background graphics. They add a lot to the visual appeal of the slides and save you time, energy, and money that would be involved in creating them yourself. But while those background graphics might be fine for most of your slides, you may find that the graphics are too busy for text-heavy slides, or slides that use other graphics. Our tutorial below will show you how to hide background graphics from a single slide in a Powerpoint presentation. This will allow you to continue using the background on the rest of the slideshow while making one, or several, of your slides easier to read.
How to Hide Background Graphics for a Single Slide in Microsoft Powerpoint 2013
Our guide continues below with additional information on removing pictures from the background of a Powerpoint slide, including pictures of these steps.
How to Remove Background Graphics from a Single Slide in Powerpoint 2013 (Guide with Pictures)
The steps in this article will show you how to hide an image or graphic that appears in the background of a slide. We will be focusing on removing the graphics from a single slide. If you want to remove all of the graphics from all of your slides then you can continue to the next section of this article.
Step 1: Open your presentation in Powerpoint 2013.
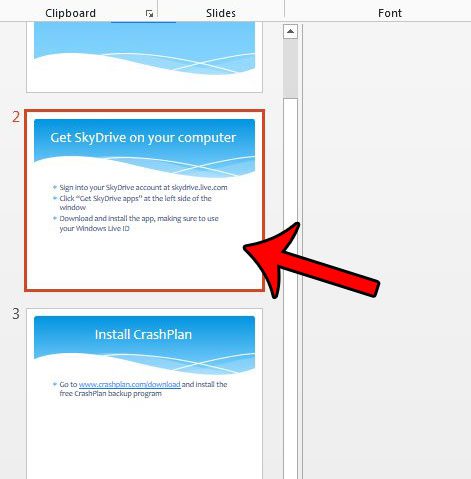
Step 2: Click the slide containing the background graphic you wish to hide.
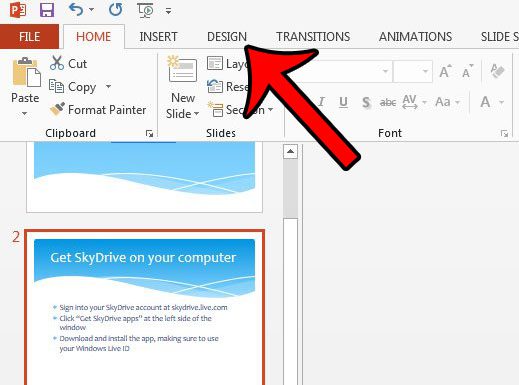
Step 3: Click the Design tab at the top of the window.
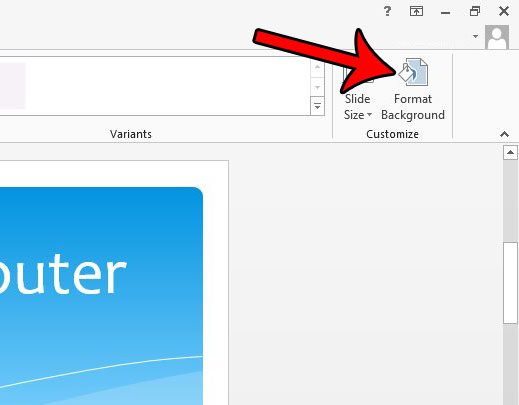
Step 4: Click the Format Background button in the Customize section on the right side of the ribbon.
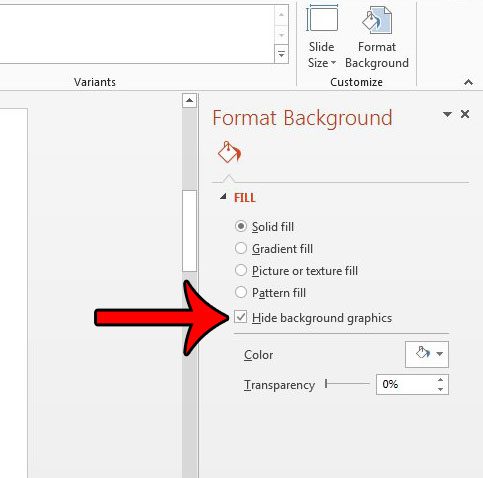
Step 5: Click the Hide background graphics option in the Format Background column on the right side of the window.
Our tutorial continues below with additional discussion about editing background graphics in Powerpoint.
How to Remove Background Graphics from All of the Slides in a Presentation in Powerpoint
Many people that create their own custom slide shows may not edit them as a theme. So images that are on the slideshow are typically just inserted as regular objects that you can select from the standard slide editing interface. But if that’s not working then the images might actually be a part of the background. These are most commonly found when you use a theme as you create a presentation. If you would prefer to remove the background graphics from every slide in your presentation, then you can do so by clicking the View tab, then clicking the Slide Master option. You can then click an object in the slide to select it, then press the Backspace key to delete it, or you can check the Hide Background Graphics option in the ribbon.
How to Change Background Graphics – Powerpoint 2013
The steps above have shown you where to go in Microsoft Powerpoint if you have a slide in your presentation and want to edit something concerning the background objects on that slide. When you open the “Format Background” dialog window, there are a number of other options available there as well. These include:
Fill options – Solid fill, gradient fill, Picture or texture fill, Pattern fillHide background graphicsColorTransparency
These provide a good number of ways that you can change the appearance of your slide background. if you need to know how to edit background pictures in Powerpoint then you will need to go to View > Slide Master. Here you can click on the Background Styles dropdown menu in the Background group of the ribbon, then choose the Format Background option. You can then select the Picture or texture fill option and add the background picture, or you can select one that is already in the slideshow. You can then use the various Powerpoint editing tools to make changes to that background image. If your Powerpoint presentation has a lot of pictures, videos, or audio files, then the file size could get very large. Large files can be difficult to share, so check out this article – https://www.solveyourtech.com/how-to-compress-media-in-powerpoint-2013/ – and learn how to compress the media files in a slideshow to make the overall presentation file size smaller.
Additional Sources
After receiving his Bachelor’s and Master’s degrees in Computer Science he spent several years working in IT management for small businesses. However, he now works full time writing content online and creating websites. His main writing topics include iPhones, Microsoft Office, Google Apps, Android, and Photoshop, but he has also written about many other tech topics as well. Read his full bio here.
You may opt out at any time. Read our Privacy Policy
