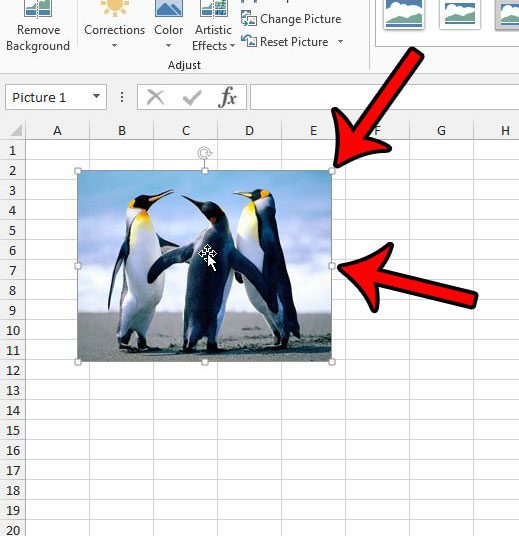
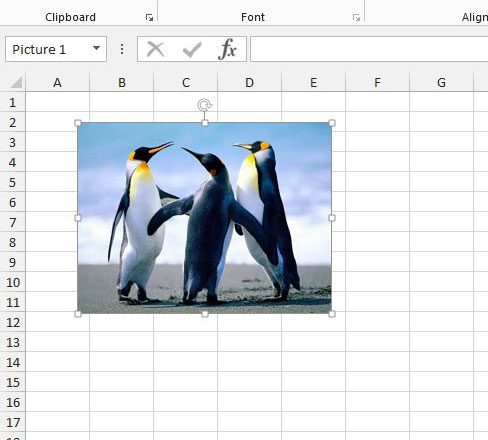
You may already be familiar with the handles that appear around an Excel image, which you can click to activate, then drag to resize the picture. Handles on the side and top will stretch or shrink the image, while the corner handles will resize while maintaining proportions. Those handles are identified below.
But what if you need a picture in your spreadsheet to be an exact size? Fortunately there is a way to do that in Excel, too, which we will outline below.
Specify the Precise Dimensions of a Picture in Excel 2013
The steps below will show you how to resize a picture in Excel 2013 by entering the precise dimensions of either the picture’s width or length. Excel pictures are constrained proportionally, so changing one of these values will cause the other to change automatically as well. You can alternatively choose to reset a picture to its original size, if you would prefer. Step 1: Open the spreadsheet containing the picture that you wish to resize. Step 2: Click the picture to select it.
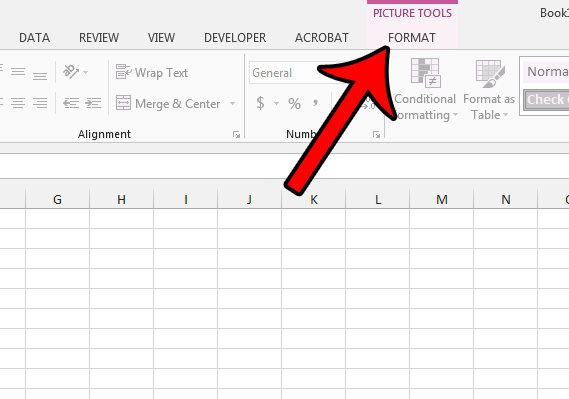
Step 3: Click the Format tab under Picture Tools at the top of the window.
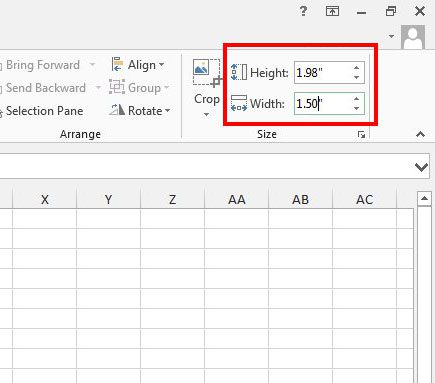
Step 4: Click inside the Height or Width field in the Size section of the ribbon, then enter the desired size, in inches, for that dimension. Pressing Enter on your keyboard will cause the picture to resize, and the dimension that you didn’t change will update to remain in proportion with the dimension that you did change.
Do you need to include a picture on every printed page of your spreadsheet? Learn how to put a picture in the footer in Excel 2013 to accomplish this. After receiving his Bachelor’s and Master’s degrees in Computer Science he spent several years working in IT management for small businesses. However, he now works full time writing content online and creating websites. His main writing topics include iPhones, Microsoft Office, Google Apps, Android, and Photoshop, but he has also written about many other tech topics as well. Read his full bio here.
You may opt out at any time. Read our Privacy Policy


