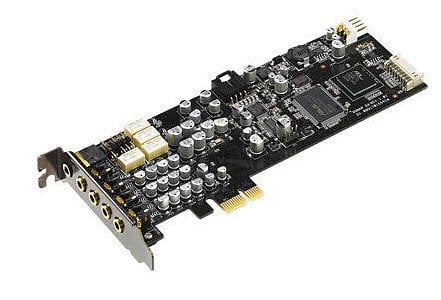
Depending on your budget, you can buy a quality sound card for the discerning audiophile and gamer. I went with an Asus Xonar DX, a model that many say offers pretty good bang for the buck (after trying it, I tend to share that opinion). My motherboard has a Realtek chip and, while that’s ok for daily use, I felt that something was seriously lacking in terms of sound ever since I hooked up my amp and speakers. So, I bought the Xonar DX (in all fairness, my wife bought it for my birthday). Remember that this card uses a PCI Express x1 Interface, so you should have an empty slot for that on your motherboard. Some internal cards use PCI, so just get informed and see if you can hook your new card up before purchasing.
Install Your Sound Card
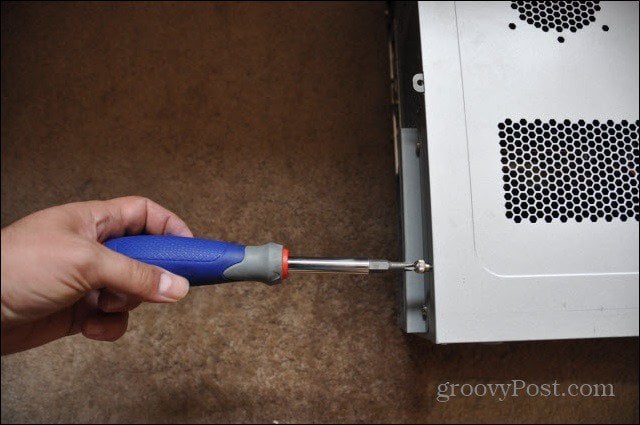
Well, you’ll (obviously) need your new sound card, along with its driver CD (or download them from the manufacturer’s site, and a screwdriver. First of all, turn your computer off and remove all cables from it. Take out the screws of the case and remove the lid (this is a good opportunity to do some dusting inside the case).
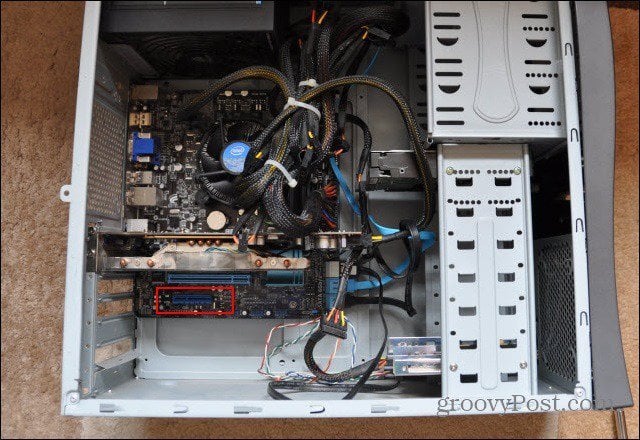
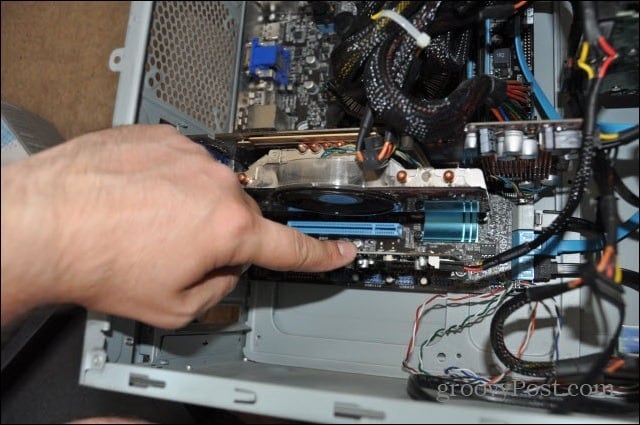
Once it’s open, locate the PCI or PCI Express slot where the new card will go. I’ve marked the PCI Express slot in the image below, but your motherboard’s manual could be handy if you don’t know which one it is.
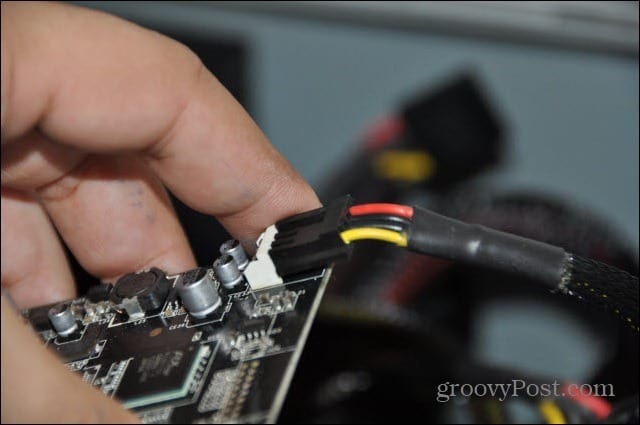
Now, take the new sound card out of the box, but make sure you touch a metal part of the case to release static before you do. My new sound card needs separate power to work, using a floppy connector. If that is the case for yours, make sure you connect said cable from your power supply before going forward.
Then, easily slide the card into the slot on the motherboard and attach it to the case with screws. You might need to buy some, as not all cards will have extras in the box.
With everything in place, things should look something like this:
Now, depending on your setup, connect the cables to the back of the sound card (and the rest of your computer’s cables, as well).
Install Sound Card Software
You can now turn your PC on and insert the CD that came with your card at the same time. Install the drivers first and any other utilities (if that is the case) afterward.
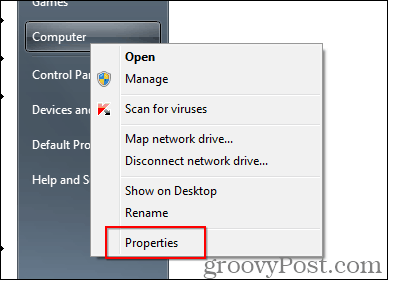
At this point, you will probably be asked to restart. Before you do that, though, there’s one more thing to do. If you’re upgrading from the sound chip on your motherboard (and I would expect you are, since you can’t really find motherboards without one of those these days), you should disable that one to avoid conflicts. It’s easy to do. Go to Computer in your Start Menu and right-click it. Click Properties.
Note: If you are using Windows 10 check out our article on how to create a shortcut to Device Manager. Then on the left-hand menu, select Device Manager.
Now, find the onboard sound chip in the list, under Sound, video, and game controllers. If you don’t know which one it is, your motherboard’s manual could come in handy again. Right-click it and hit Disable. You’ll be asked to confirm, after which you can restart.
That’s it! After the restart, things should work fine, and you should be able to enjoy your new sound card and significantly improved sound. Make sure you look at your new card’s utilities to make sure everything sounds exactly as you want it to. Looking for other ways to supercharge your PC? Check out our other articles on upgrading its hardware:
Install New Memory (RAM) in a Laptop or NetbookInstall a New Hard Drive to Your PCUpgrade a Laptop Solid State Drive (SSD)
Comment Name * Email *
Δ Save my name and email and send me emails as new comments are made to this post.
![]()
